The primary menu is the main navigation displayed in your Aurora header. It appears on every page and is the first thing visitors use to move around your site.
Step 1: Create a Menu
- Go to Appearance → Menus.
- Click Create a new menu.
- Give it a name (e.g. “Main Navigation”) and click Create Menu.
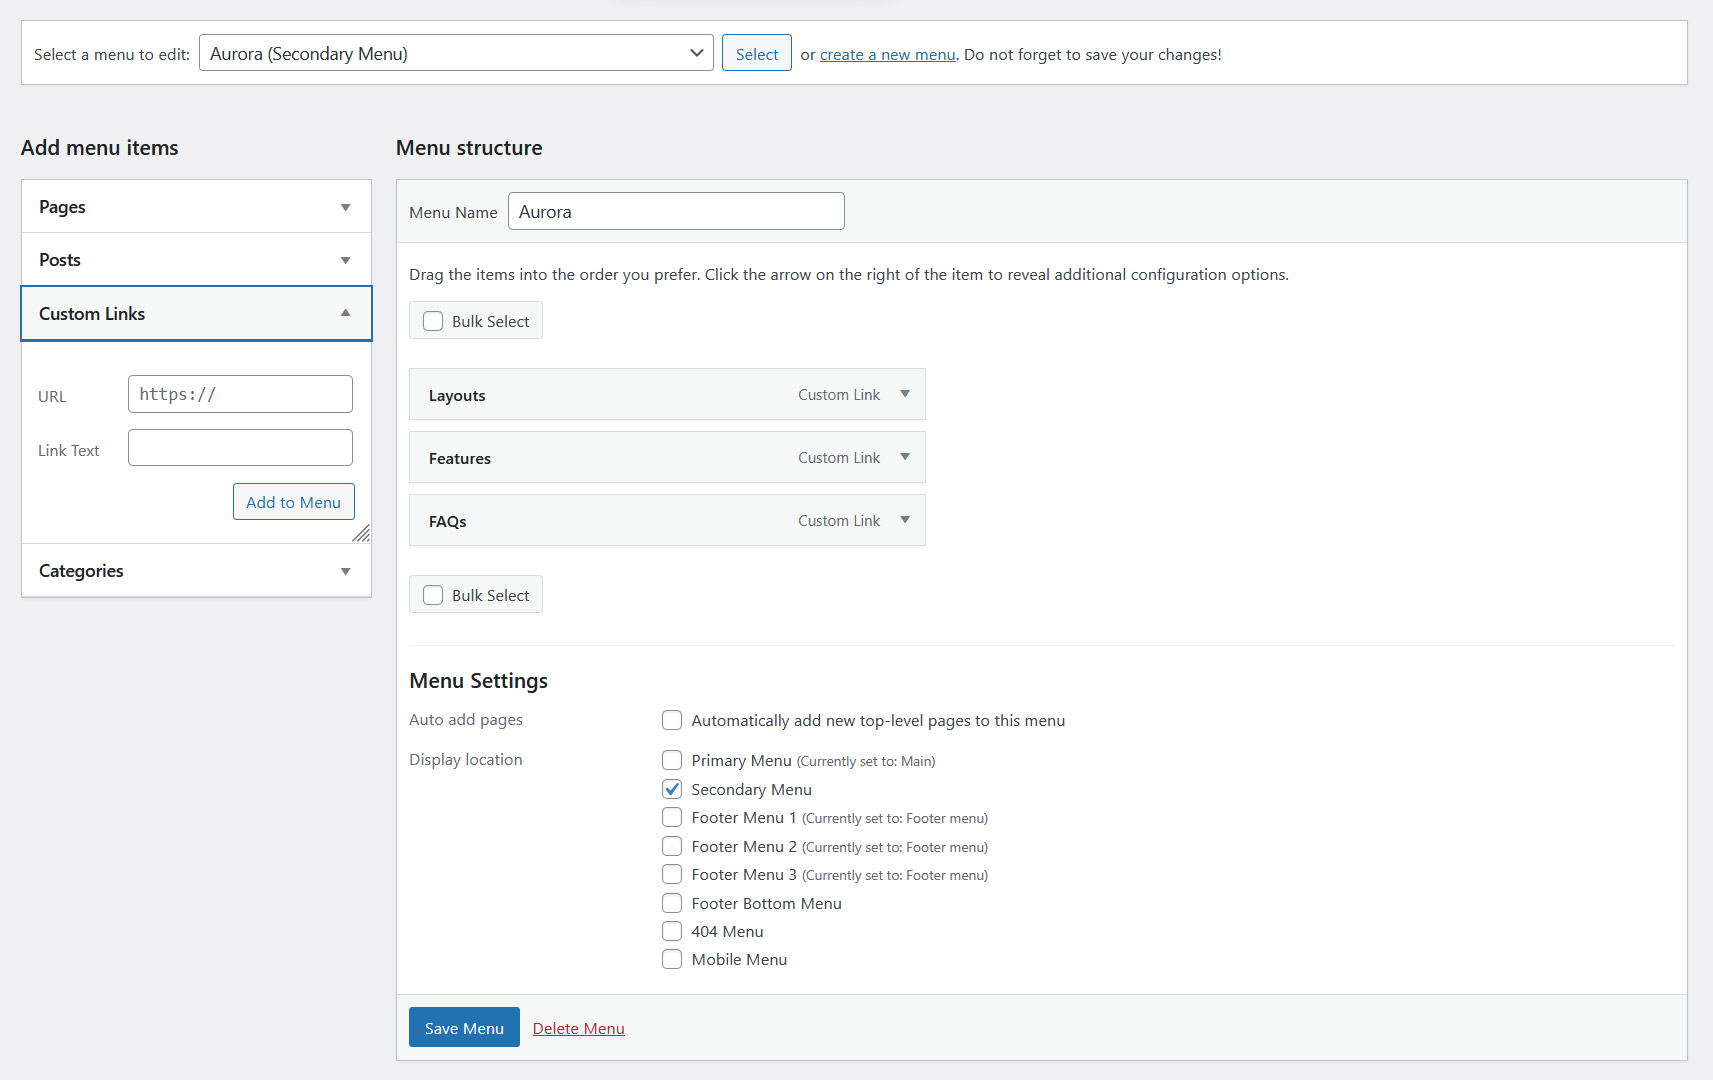
- Add pages, posts, categories, or custom links from the left-hand panel.
- Click Save Menu.
Step 2: Assign It to the Primary Location
- Under Menu Settings at the bottom of the menu editor, check Primary Menu.
- Click Save Menu.
Alternatively, go to the Manage Locations tab, find the Primary Menu row, and select your menu from the dropdown. For an overview of all available menu locations, see Aurora Navigation Menu Locations Explained.
Adding Dropdowns
To create dropdowns, drag a menu item slightly to the right beneath a parent item in the menu editor. The indented item becomes a child and will appear as a dropdown under the parent on the front end.
Aurora supports multi-level dropdowns. See How to Make Dropdowns Display in Columns for styling options.
Tip: Mobile Menu
Aurora has a dedicated Mobile Menu location for the navigation shown in the mobile drawer. If nothing is assigned to that location, Aurora falls back to the Primary Menu automatically, so in most cases you do not need to create a separate mobile menu.