
If you’ve been using Aurora Lite and want access to the full layout library, Nova compatibility, and ongoing updates, upgrading to Pro is straightforward. Here’s what changes, what you gain, and how to move your settings over without starting from scratch.
Why Upgrade
- Access to every header, homepage, single post, archive, and footer layout Aurora offers, not just the Lite Default selection
- Future theme updates delivered through the standard WordPress update mechanism
- Compatibility with Nova and other supported Aurora addons
Step 1: Purchase a License
- Go to aurorawptheme.com and click Get Aurora.
- Choose between the Standard License (one site) or the Extended License (unlimited sites).
- Complete the checkout. Your license key and Pro theme download link will arrive in your confirmation email immediately.
Step 2: Install the Pro Theme
Pro and Lite are separate themes, so installing Pro means uploading a new theme file rather than updating Lite in place.
- Download the Aurora Pro zip from your confirmation email.
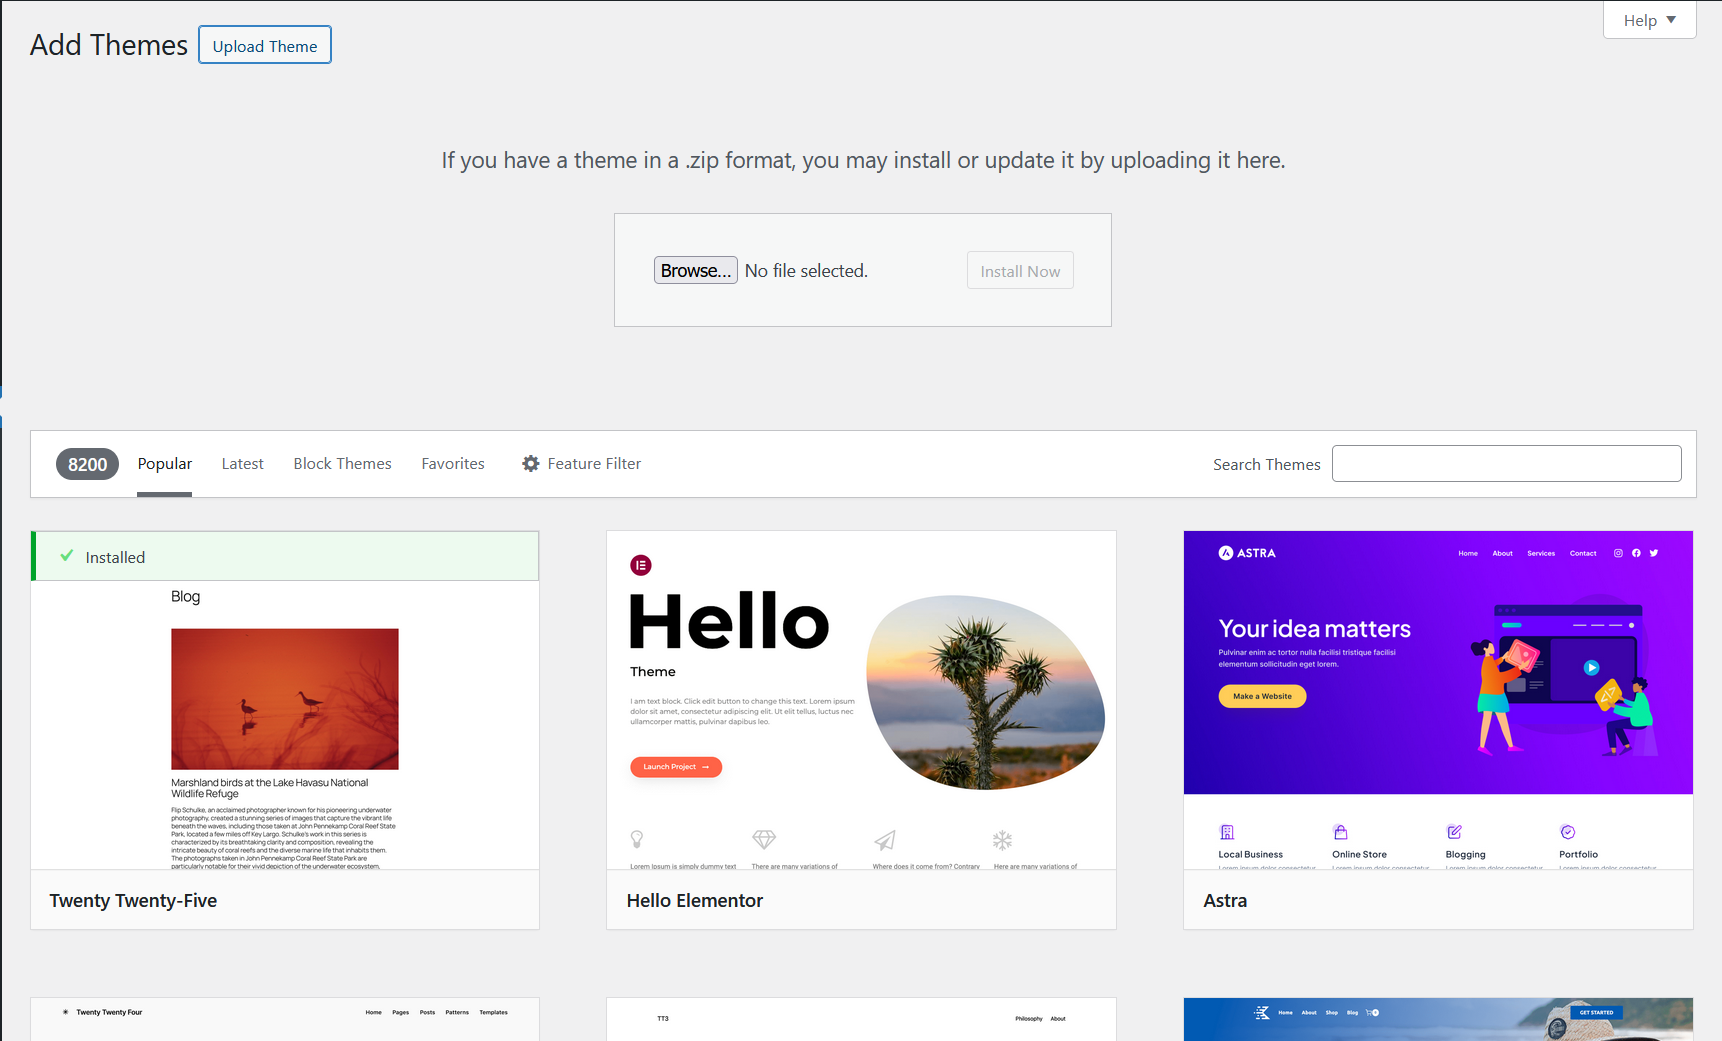
- Go to Appearance → Themes → Add New → Upload Theme.
- Select the Pro zip file and click Install Now.
- Click Activate.
For a more detailed walkthrough, see how to install Aurora from a zip file.
Since Lite only ships with the Default layout for each section, there isn’t much to lose by switching. Most Lite users are effectively starting fresh in Pro, just with far more layout options to choose from. If you’d rather test everything before going live, consider setting up a staging site first.
Step 3: Migrate Your Settings (Optional)
If you’ve customized colors, fonts, or other Customizer options in Lite and want to carry them over rather than reconfigure manually, add this snippet via a code snippets plugin and run it once right after activating Pro.
add_action('admin_init', function() {
    if (!isset($_GET['aurora_migrate_lite'])) return;
    if (!current_user_can('manage_options')) return;

    $lite_mods = get_option('theme_mods_aurora-lite');
    if (!$lite_mods) {
        wp_die('No Aurora Lite settings found to migrate.');
    }

    $pro_mods = get_option('theme_mods_aurora-pro', []);

    foreach ($lite_mods as $key => $value) {
        $pro_key = str_replace('aurora_lite_', '', $key);
        $pro_mods[$pro_key] = $value;
    }

    update_option('theme_mods_aurora-pro', $pro_mods);

    wp_die('Settings migrated successfully. Remove this snippet now.');
});
Visit yoursite.com/wp-admin/?aurora_migrate_lite=1 to run it, then remove the snippet. Always back up your site before running migration scripts.
Step 4: Activate Your License
Once Pro is installed and active, you’ll need to activate it using the license key from your confirmation email.
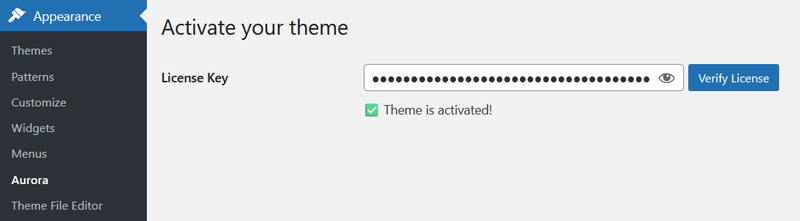
- Go to Appearance → Aurora.
- Paste your license key into the field.
- Click Verify License.
- The status should update to Active.
For a step-by-step walkthrough, see how to activate your Aurora license key.
Standard vs Extended License
| Standard | Extended | |
|---|---|---|
| Number of sites | 1 | Unlimited |
| All layouts included | Yes | Yes |
| Free updates | Yes | Yes |
| One-time payment | Yes | Yes |