
Last updated:
Aurora pulls contact details, including phone number, email address, and physical address, from a single location in the Customizer and can display them in both the header and footer. Set it once and it appears wherever your active layouts support it.
Where to Enter Contact Info
- Go to Appearance → Customize.
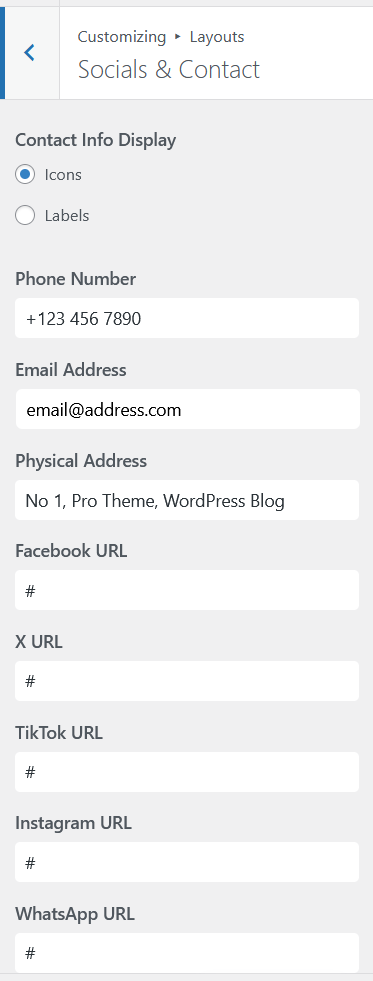
- Open Socials & Contact.
- Enter your phone number, email address, or address in the relevant fields.
- Click Publish.
Where It Appears
Header: Contact info is displayed in header layouts that include a contact area, typically the more detailed horizontal layouts. If your active header layout does not show contact info, switching to a layout like Detailed or Elegant will add it.
Footer: The Segment footer layout displays contact info in its fourth column. The other footer layouts (Default, Classy, Simple, Stripped) do not include a contact section.
Tips
- Leave any field blank and it simply does not render. No empty line or placeholder.
- You can use the email field as a mailto link by entering your address. Aurora formats it as a clickable link automatically.
- The same Socials & Contact panel also controls your social media icons in the header and footer.